How to Create a Mailbox
Not all hosting accounts come with free email. Google Workspace and Microsoft 365 both offer greater functionality than standard email.
- Log in to your Domains Dashboard.
- On the dashboard, select the domain where you're creating a mailbox.
There are two views in the Domains dashboard - the Card and List views. Click on the view icons to switch to your preferred view.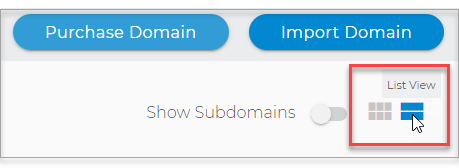
- Choose the domain you wish to modify.
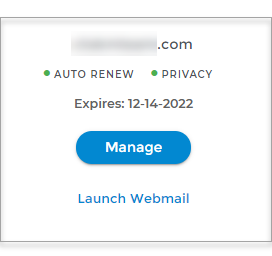
In the Card view, click the domain's Manage button.
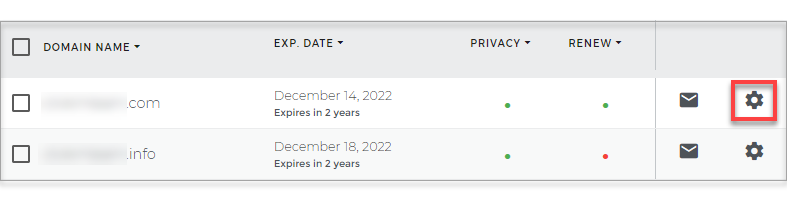
In List view, click the domain or its gear icon on the right-hand side.
- On the left pane, click Standard under Email Management.
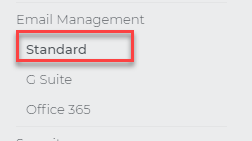
The Standard option is only available if you have a purchased hosting plan; otherwise, it will not be visible under the email management category. You may also access your standard webmail through this link
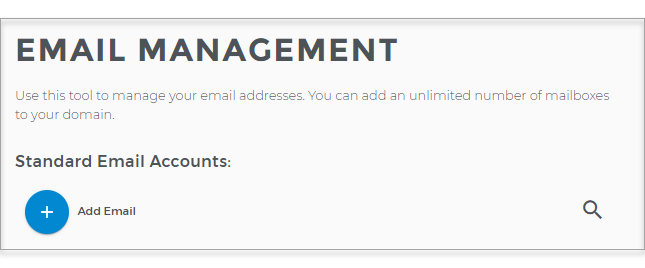
- Click on the (+) sign to Add Email.
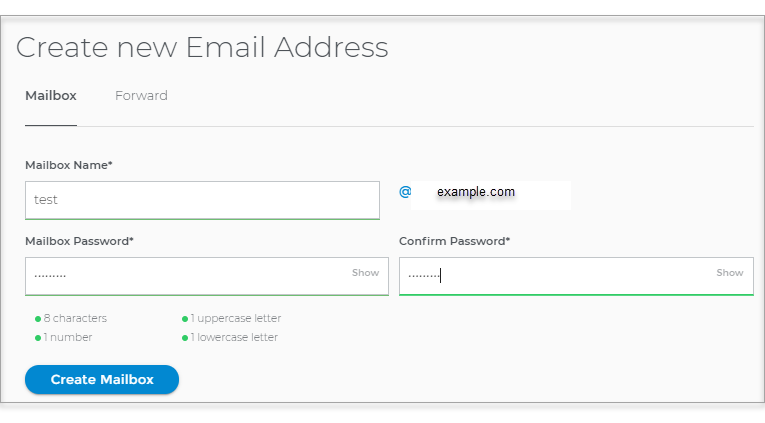
- Fill in with your Mailbox Name and Mailbox Password, then hit Create Mailbox. Note: You must meet the Password requirement to proceed.
- A notification at the bottom-left corner will appear. You will also see that the email address you have created is added to the list of existing email addresses.
