File Management: Navigating File Manager
File Manager
- Log in to your account Hosting Dashboard.
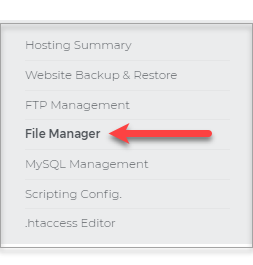
- In the left panel, click on File Manager.
- Access, edit, and manage all of your website files.
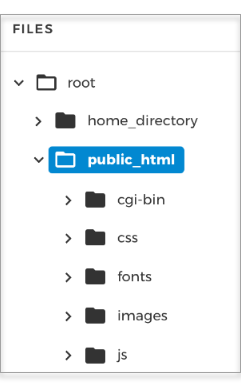
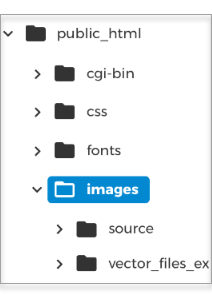
- Open directories by clicking the arrow.
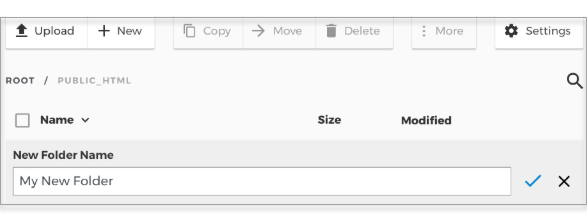
- Create new files or folders by clicking on the +New button.
- Name the file or folder and select the check when you are done.
- Upload new files with the Upload button.
- Select the items you wish to upload and click on Open.
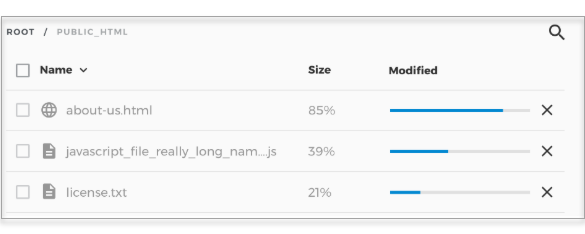
- You will see the upload progress as shown in this image.
- A popup box will inform you of the progress.
- Settings allow you to Show System Files or toggle the Richtext HTML Editor.
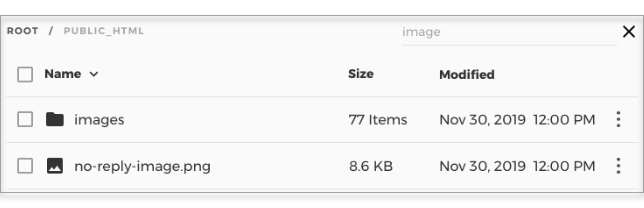
- Type search items into the search field.
- In this case, the results for the term "image."
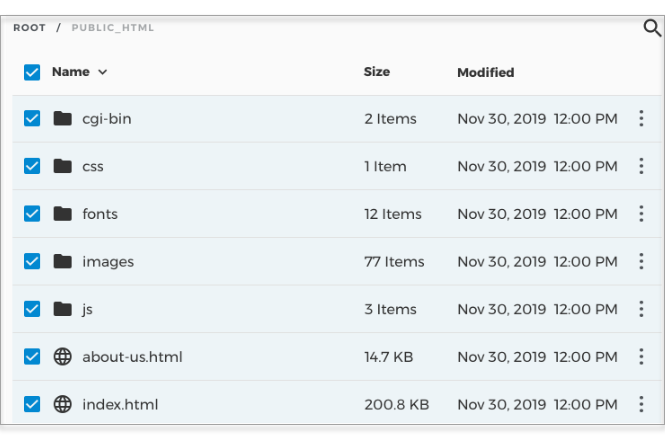
- Select individual items or everything by checking the selection box.
- Click the 3 dots, the More menu for additional options.
- Edit, on the options menu, opens the raw file for editing.
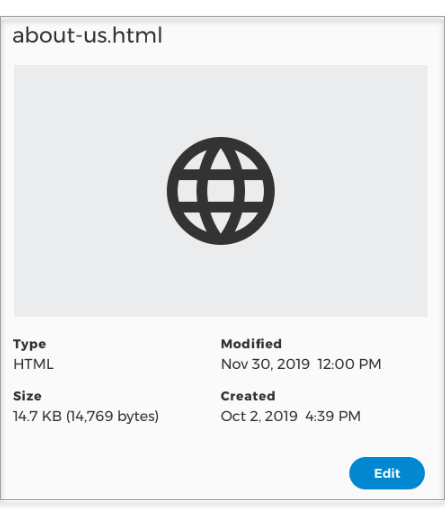
- View details
- Rename a file or folder, check when you are done.
- Change permissions on a file or folder.
File Manager is a powerful tool. Make sure to check the folder name where the domain is pointed. This will ensure that you are working in the right directory.
Click here to know how to check where your domain is pointing to.
Related Articles: