WebsiteBuilder: How to Add Stock Images
NOTE: We offer two different versions of WebsiteBuilder. Our original implementation of the builder is the Legacy WebsiteBuilder Editor, while WebsiteBuilder Express Editor is the newest interface commonly found in the Foundation dashboard. It is not possible to upgrade a Legacy WebsiteBuilder site to the Express Editor. The site will need to be recreated with the Express Editor. All new WebsiteBuilder installations will be the Express Editor.
Follow the instructions that match your WebsiteBuilder version on how to add stock images in your WebsiteBuilder Editor. There are thousands of stock images to choose from.
How to check if I have Legacy WebsiteBuilder Editor or Express Editor?
| Legacy WebsiteBuilder | WebsiteBuilder Express Editor |
 |
 |
How to launch WebsiteBuilder?
How to Add Stock Images with the Legacy WebsiteBuilder Editor
How to Add Stock Images with the Express Editor
How to launch WebsiteBuilder?
- Log in to your Domains Dashboard.
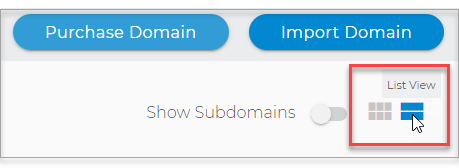
- There are two views in the Domains dashboard - the Card and List views. Click on the view icons to switch to your preferred view.
- Choose the domain where your WebsiteBuilder is situated.
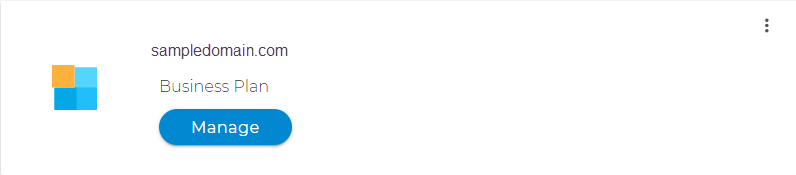
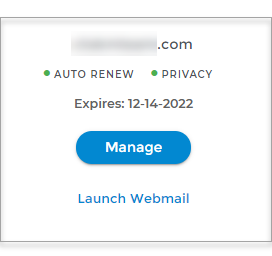
In the Card view, click the domain's Manage button.
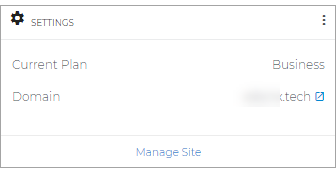
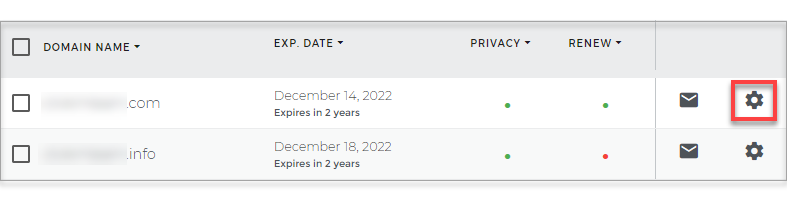
In List view, click the domain or its gear icon on the right-hand side.
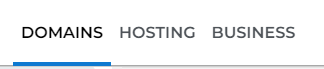
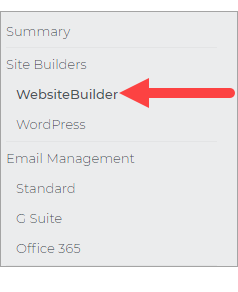
- Click on WebsiteBuilder on the left menu.
How to Add Stock Images with the Legacy WebsiteBuilder Editor
-
To launch your Legacy WebsiteBuilder Editor, click Manage.
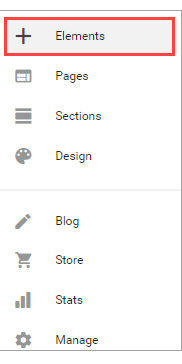
- On the left-hand options, click on Elements.
- Then look for Image.

- Click on Stock Images.
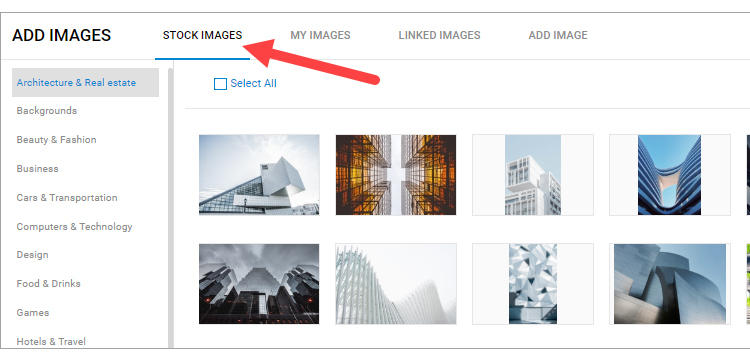
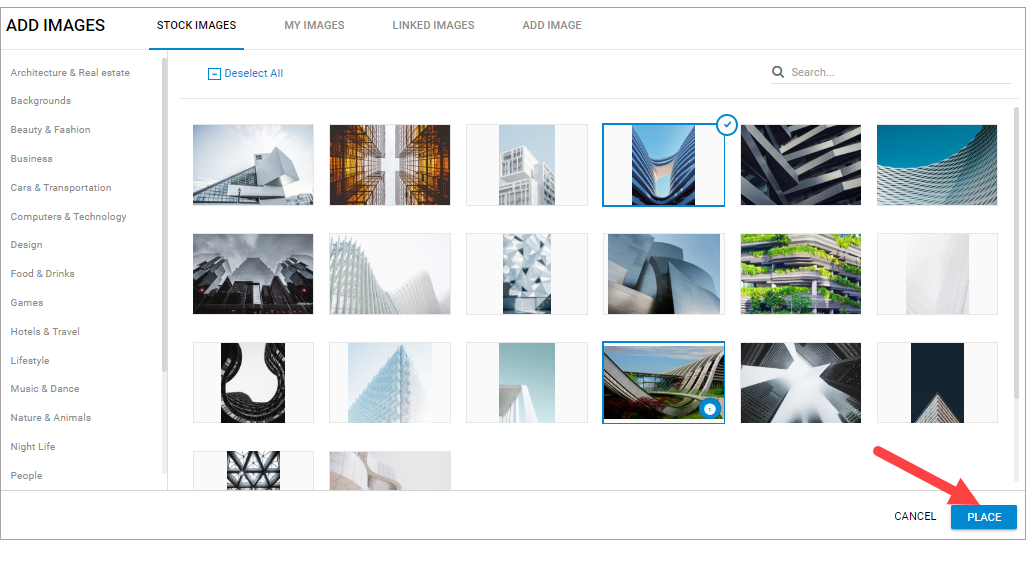
- Select from the Category list flushed to the left, after choosing your stock image, select Place.
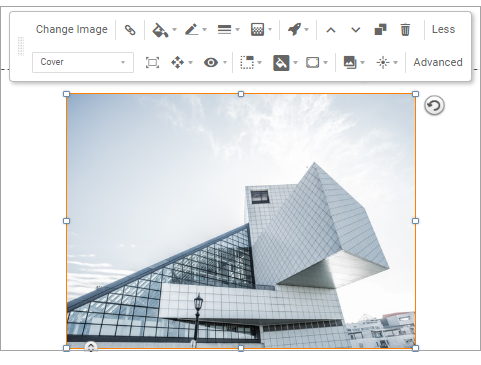
- Adjust the image accordingly. To know more about adjusting and editing your image, visit this knowledge base article WebsiteBuilder: How to Adjust and Edit Images.
- Once editing is done, click on Save. If you want to make all changes to be updated on your live website, click Publish. Both these options are placed on top of your editor.
Note: if you only save changes, it would not appear on the website unless you click Publish.
How to Add Stock Images with the Express Editor
- To launch your WebsiteBuilder Editor, click ManageSite.

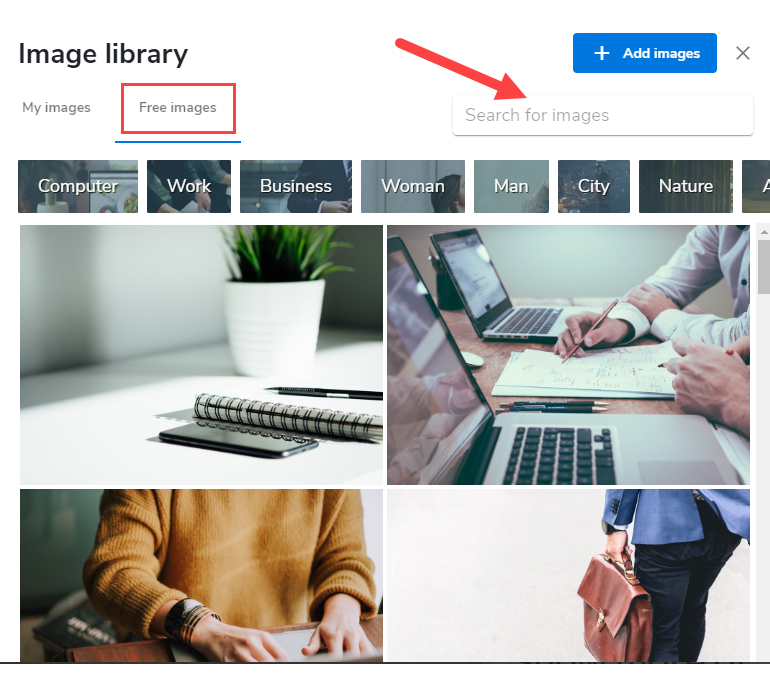
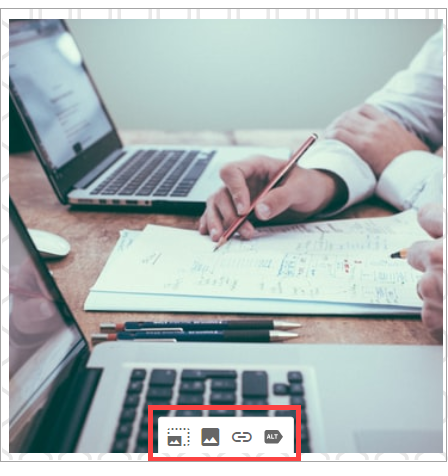
- Choose an area with an image and select the picture icon to open the Image Library.

- Click on Free Images and browse through the categories listed. You can also search for images using the search bar.
- Adjust the selected image appropriately. To know more about adjusting and editing your image, visit this knowledge base article WebsiteBuilder: How to Adjust and Edit Images.
- Once editing is done, click on Save. If you want to make all changes to be updated on your live website, click Publish. Both these options are placed on top of your editor. Note: if you only save changes, it would not appear on the website unless you click Publish.
