| 5.2 Creating a Website With WordPress |
| |
| Netfirms WordPress is an easy, yet powerful tool you can use to create and manage a website or blog with just a few clicks. WordPress is configured through the Site Tools menu tab. |
| |
Steps:
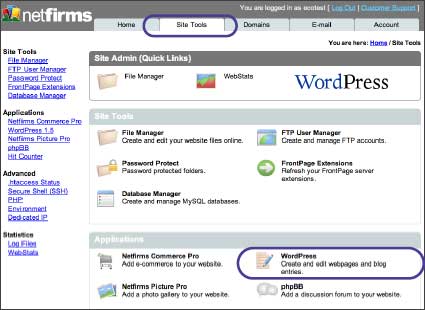
- Click the Site Tools menu tab.
- Click the WordPress icon.
- Click the Add New button.
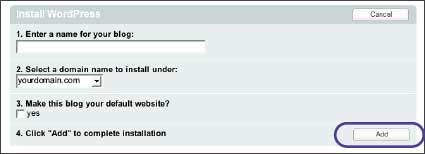
- Enter a name for your website in the Name text box.
- Select the domain name to which you'd like to use.
- Check the Yes checkbox if you want this website to appear as your homepage when you type www.yourdomain.com.
- Click the Add button to complete the installation.
- Onscreen you will see a listing for your new website, with the web address you can use to access it. If you selected Yes in step 6 you will also be able to access it by typing: http://www.yourdomain.com.
|
| Notes: By default six pages will be created for your website: Home, About Us, Products, Services, Support and Contact Us. Use the WordPress Admin tool (see section 5.3) to update these pages with your own text and graphics. You can also add or remove additional pages using this tool. |