WP Essential: How to Install Your WordPress Website
- Log in to your Domains Dashboard.

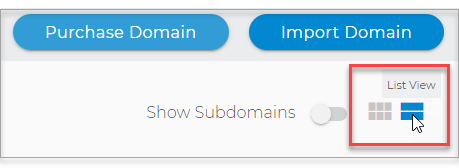
- There are two views in the Domains dashboard - the Card and List views. Click on the view icons to switch to your preferred view.
- .Choose the domain where you wish to install your WordPress website
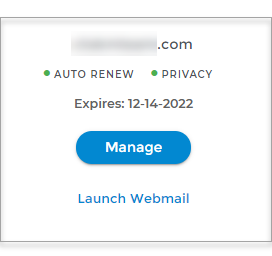
In the Card view, click the domain's Manage button.
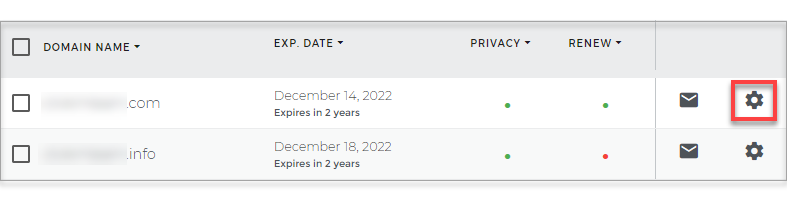
In List view, click the domain or its gear icon on the right-hand side.
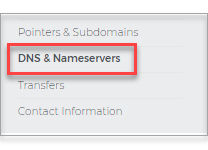
- Click on DNS & Nameservers in the left-hand menu.
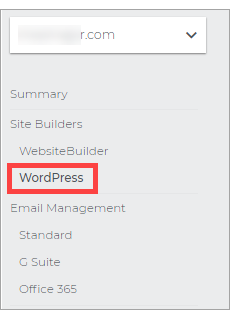
- On the left pane, click on WordPress.
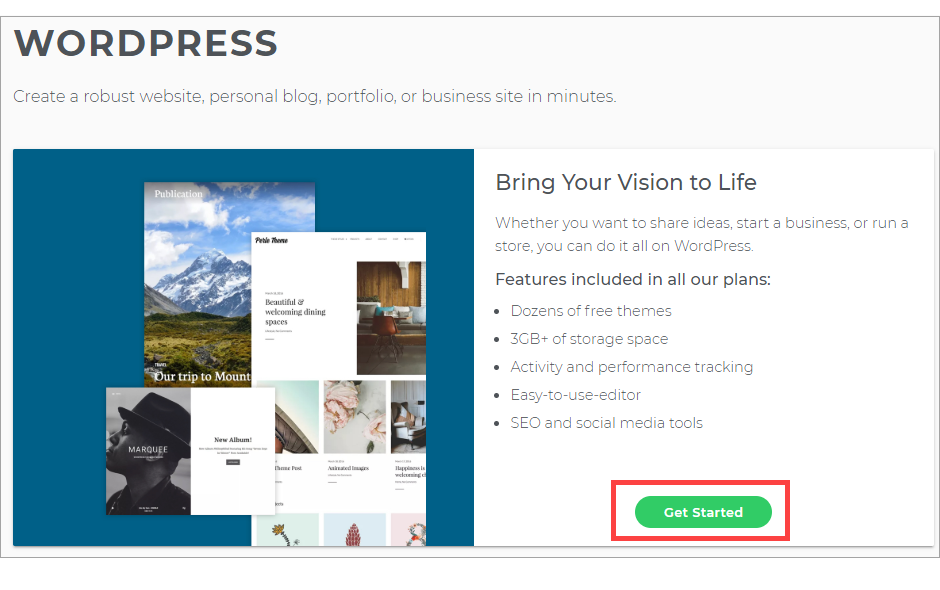
- In the WordPress Page, click Get Started.
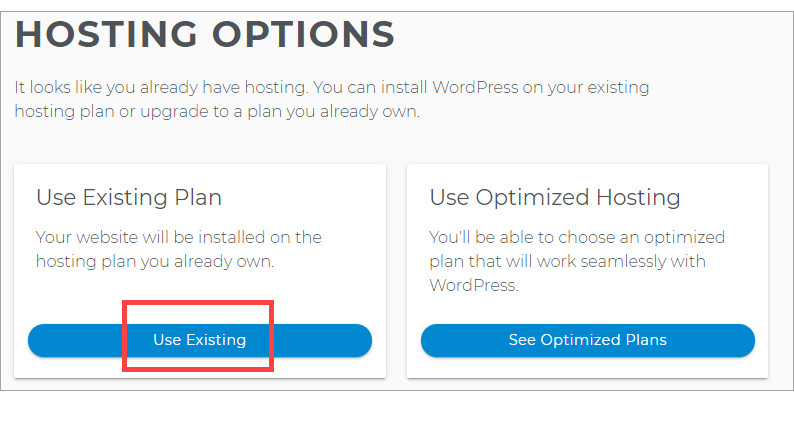
- If you have an existing plan, then click on Use Existing. Note that you can upgrade to Optimized Hosting for Super speed, enhanced security, and personalized support for WordPress.
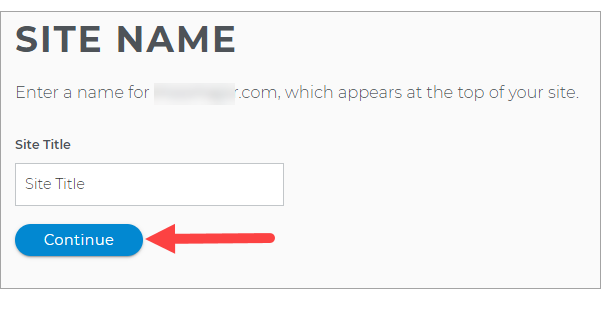
- Create your Site Name, which appears at the top of your site.
- Fill in with your Email, Username, and Password for your WordPress Dashboard.
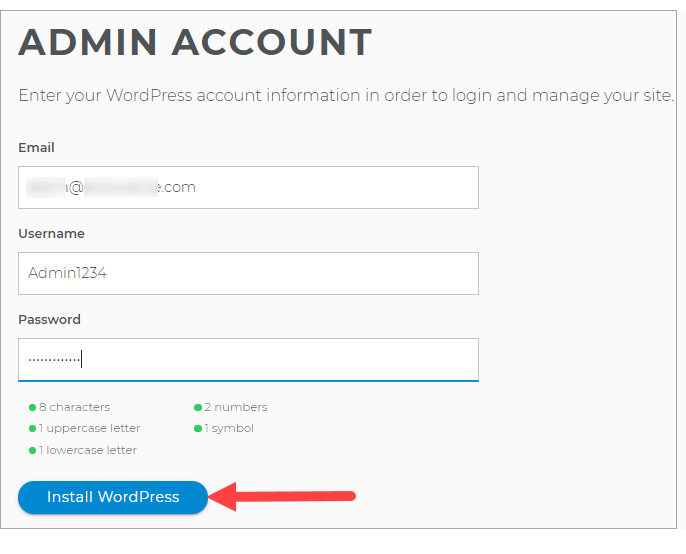
- After clicking on the Install WordPress button, the request will be queued. It usually only takes a few minutes to complete the installation process.
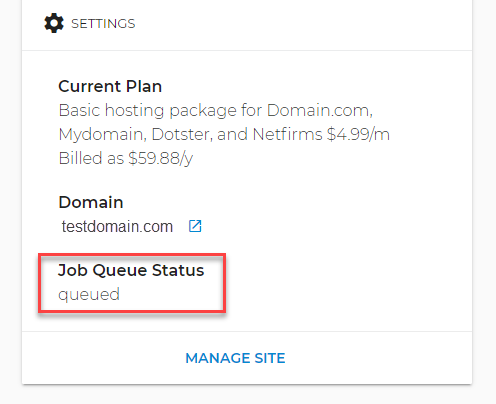
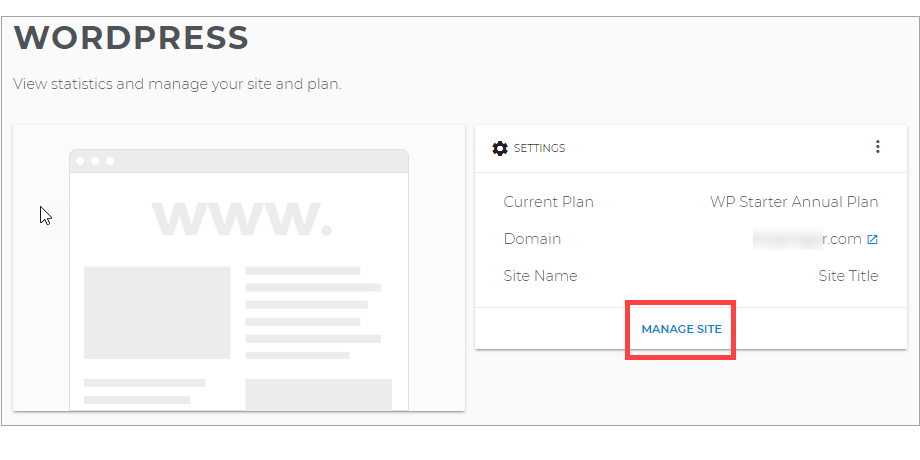
- Once WordPress has been installed, you can modify the site by clicking on Manage Site.
Want to learn more about WordPress?
Check WordPress: Tutorial Videos to help you quickly grasp the basics of creating a WordPress website. You can always check out WordPress.com and browse their codex or online help forums.Related Articles
How to Update PHP for WordPress
WordPress: How to Keep WordPress Up-to-Date
WordPress: How to Update Database Connection Strings
How to Access Your WordPress Dashboard
WordPress: SSL Certificates