Websitebuilder: Adding Content
A good website is composed of text, images, videos, and other cool content. Follow these simple steps to get a glimpse of how things are done.- Log in to your Domains Dashboard.

- On the dashboard, select the domain where your WebsiteBuilder is situated.
There are two views in the Domains dashboard - the Card and List views. Click on the view icons to switch to your preferred view.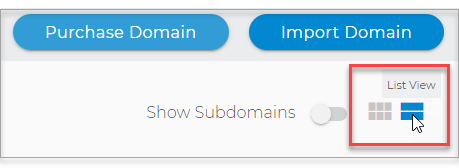
- Choose the domain you wish to modify.
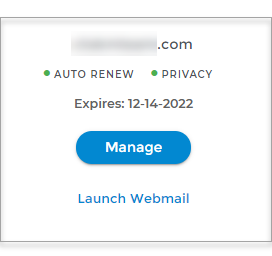
In the Card view, click the domain's Manage button.
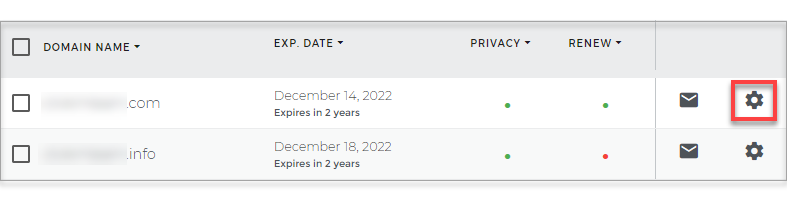
In List view, click the domain or its gear icon on the right-hand side.
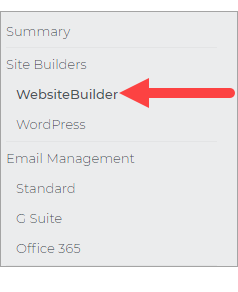
- On the left pane, click on WebsiteBuilder, under Site Builders.
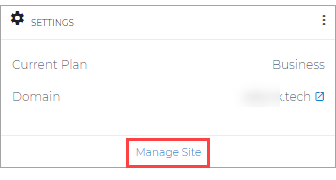
- To launch your WebsiteBuilder Editor, click Manage Site.
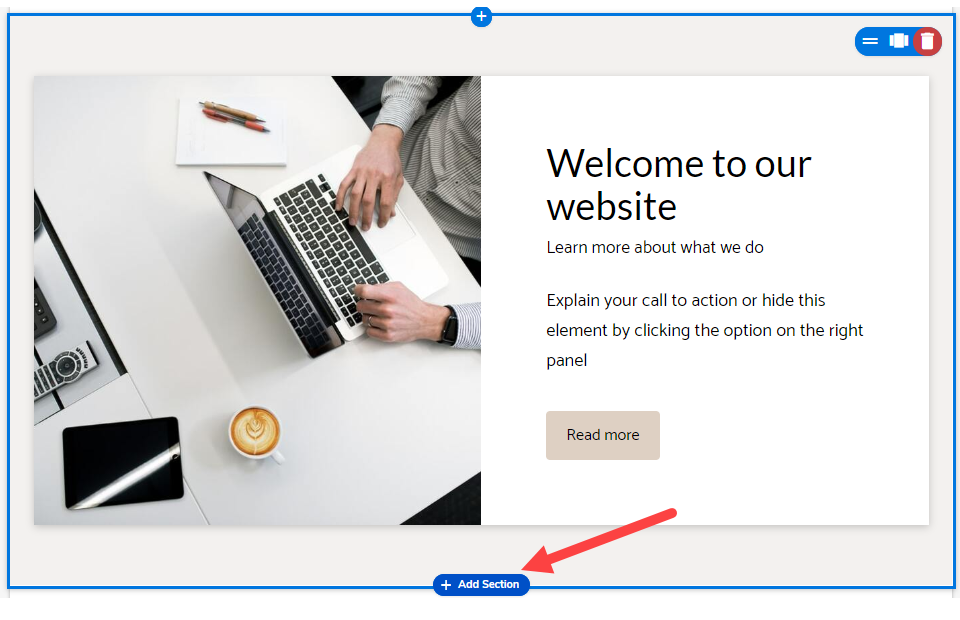
- Analyze where you want to place the content on your website, then hover your mouse to the plus sign that says Add Section.
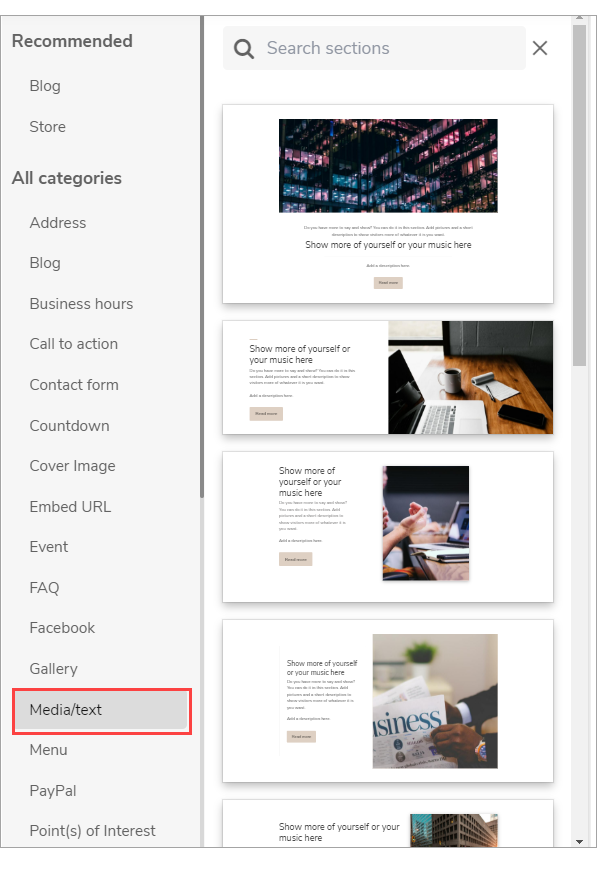
- Under All Categories, you can see all the contents you can add to your website. Apart from texts, you can add content like video, links, and other forms of media. The second column gives you an option to select a layout based on your Theme.
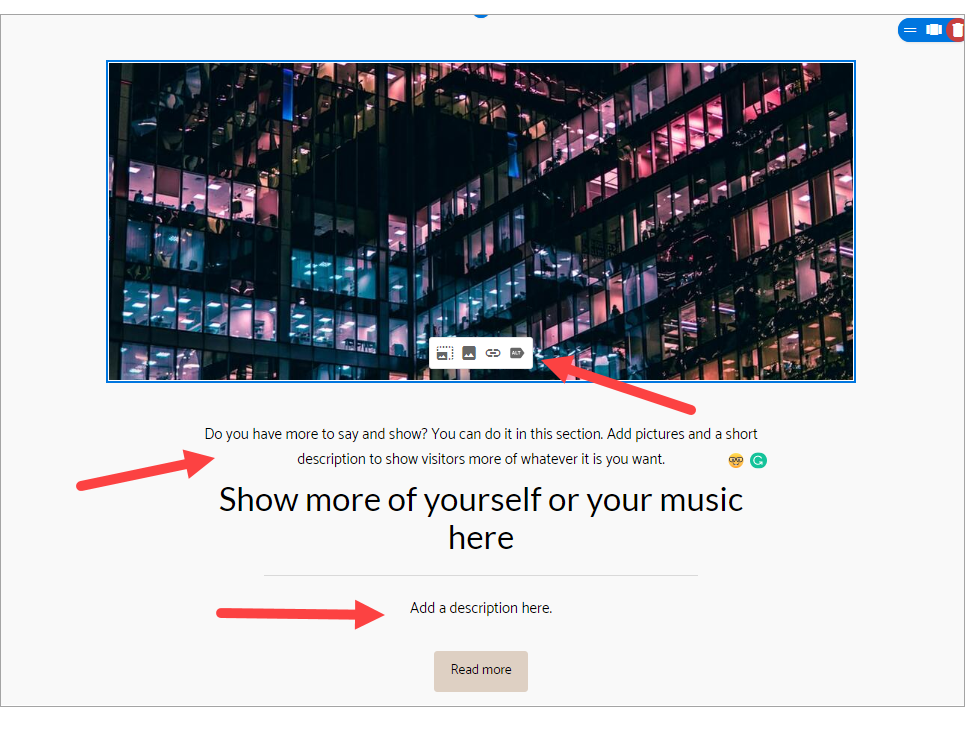
- Once you have added the content, you can add a title, change the picture, and give it a description.
- After editing is all done, click on Save. If you want to make all changes to be updated on your live website, click Publish. Both these options are placed on top of your editor. Note: if you only save changes, it would not appear on the website unless you click Publish.

Related Articles:
WebsiteBuilder: How to Add Images
WebsiteBuilder: How to Add a Video
WebsiteBuilder: Adding Additional Buttons
WebsiteBuilder: How to Add Links and Documents
WebsiteBuilder: How to Add a Blog